Dreaming of a bountiful spring harvest? You’re not alone! We’ve spent years perfecting our gardening techniques to maximize those early-season yields, and we’re excited to share our best tips with you.
Nothing beats the satisfaction of harvesting fresh, homegrown produce after the winter months. With proper planning and a few expert strategies, you’ll be amazed at how productive your spring garden can be. From selecting fast-growing varieties to optimizing your soil preparation, these proven methods will transform your gardening results.
Join us as we explore the essential practices that lead to abundant spring harvests. Whether you’re a seasoned gardener or just starting out, these techniques will help you get the most from your garden while avoiding common mistakes that limit production.
10 Essential Soil Preparation Techniques for Spring Planting
Preparing your soil properly is the foundation for a successful spring harvest. These techniques will transform your garden beds from winter dormancy to spring productivity.
Testing and Amending Your Soil pH
Soil pH directly impacts your plants’ ability to absorb nutrients, making it one of the most critical factors for garden success. Purchase an inexpensive soil test kit from your local garden center to determine your current pH level (typically ranging from 4.0 to 8.0). Most vegetables thrive in slightly acidic soil with a pH between 6.0 and 7.0. Adjusting soil that’s too acidic can be accomplished by incorporating limestone or wood ash, which gradually raises pH levels over several months. For soil that’s too alkaline, mix in elemental sulfur, aluminum sulfate, or organic materials like pine needles and peat moss to lower the pH. Apply these amendments at least 2-3 months before planting to allow time for the soil chemistry to balance properly. Remember that different plants have varying pH preferences—blueberries enjoy acidic conditions (4.5-5.5), while asparagus prefers slightly alkaline soil (6.5-7.5).
Adding Organic Matter for Nutrient-Rich Growing Medium
Organic matter serves as the lifeblood of productive garden soil, improving structure, water retention, and nutrient availability. Incorporate 2-4 inches of compost across your garden beds, working it into the top 8-12 inches of soil. Well-rotted manure provides excellent nutrition but should be aged at least 6 months before application to prevent burning plant roots and eliminate pathogens. Leaf mold created from last fall’s leaves adds valuable fungi and microorganisms that support root development. Coffee grounds contribute nitrogen and slightly lower pH, making them perfect for acid-loving plants. Vegetable scraps from your kitchen, when properly composted, complete the cycle of garden-to-table-to-garden while reducing waste. Apply organic mulches such as straw or shredded leaves to maintain soil moisture and gradually break down into additional organic matter throughout the growing season. For heavy clay soils, add extra organic material to improve drainage and prevent compaction that restricts root growth.
7 Strategic Seed Selection Methods for Maximum Spring Yields

Selecting the right seeds is a crucial step in ensuring abundant spring harvests. We’ve compiled seven proven methods to help you choose seeds that will thrive in your spring garden and maximize your yields.
Yield Optimization
Prioritize seeds specifically bred for high yield potential that match your local growing conditions. Your selection should be customized to your exact climate and soil type to ensure optimal production. Seeds developed for your agricultural zone will naturally perform better than generic varieties, potentially increasing your harvest by 20-30%.
Hybrid Characteristics
Choose seeds based on beneficial traits like drought resistance, disease immunity, and accelerated growth rates. Hybrid varieties often combine the best qualities of multiple parent plants, creating stronger overall performance. These enhanced seeds typically offer better vigor, uniformity, and reliability compared to standard varieties.
Soil Adaptation
Match your seed selection to your existing soil composition for maximum productivity. Sandy soils require different seed varieties than clay or loam soils. Testing your soil before purchasing seeds allows you to select varieties that will thrive in your garden’s exact conditions without requiring extensive amendments.
Risk Management
Carry out a diversified approach by planting both reliable standbys and promising new hybrid varieties. This strategy helps protect against crop failure while potentially discovering higher-performing options. We recommend allocating 70-80% of your garden to proven performers and 20-30% to testing new varieties each season.
Choosing Quick-Maturing Varieties
Select fast-maturing seeds to maximize your spring growing season and avoid late frost damage. Quick-growing varieties like radishes (ready in 21-28 days), spinach (30-40 days), and bush beans (50-60 days) provide earlier harvests and potentially allow for multiple plantings. These expedited options are particularly valuable in regions with shorter growing seasons or unpredictable spring weather patterns.
Selecting Disease-Resistant Seeds for Spring Conditions
Opt for seeds with natural resistance to common spring pathogens like powdery mildew, damping off, and early blight. Disease-resistant varieties reduce the need for chemical interventions while ensuring healthier crops. Modern seed catalogs typically indicate exact disease resistances with code letters, making it easier to select varieties that address your garden’s particular challenges.
Market-Oriented Selection
Consider consumer preferences and market trends when selecting varieties for your spring garden. Growing popular or unique varieties ensures your harvest will meet demand if you’re selling your produce. Research current food trends and customer preferences before making your final seed selections to maximize both yield and marketability.
Additional Considerations
When planning your spring garden, carry out strategic crop rotation to disrupt pest cycles and enhance soil fertility. Select seeds that contribute to nutrient cycling, such as nitrogen-fixing legumes that improve soil health. We also recommend choosing climate-adapted varieties that can withstand increasingly unpredictable weather patterns, including heat-tolerant options for areas experiencing warming trends.
5 Optimal Planting Schedule Strategies for Spring Vegetables
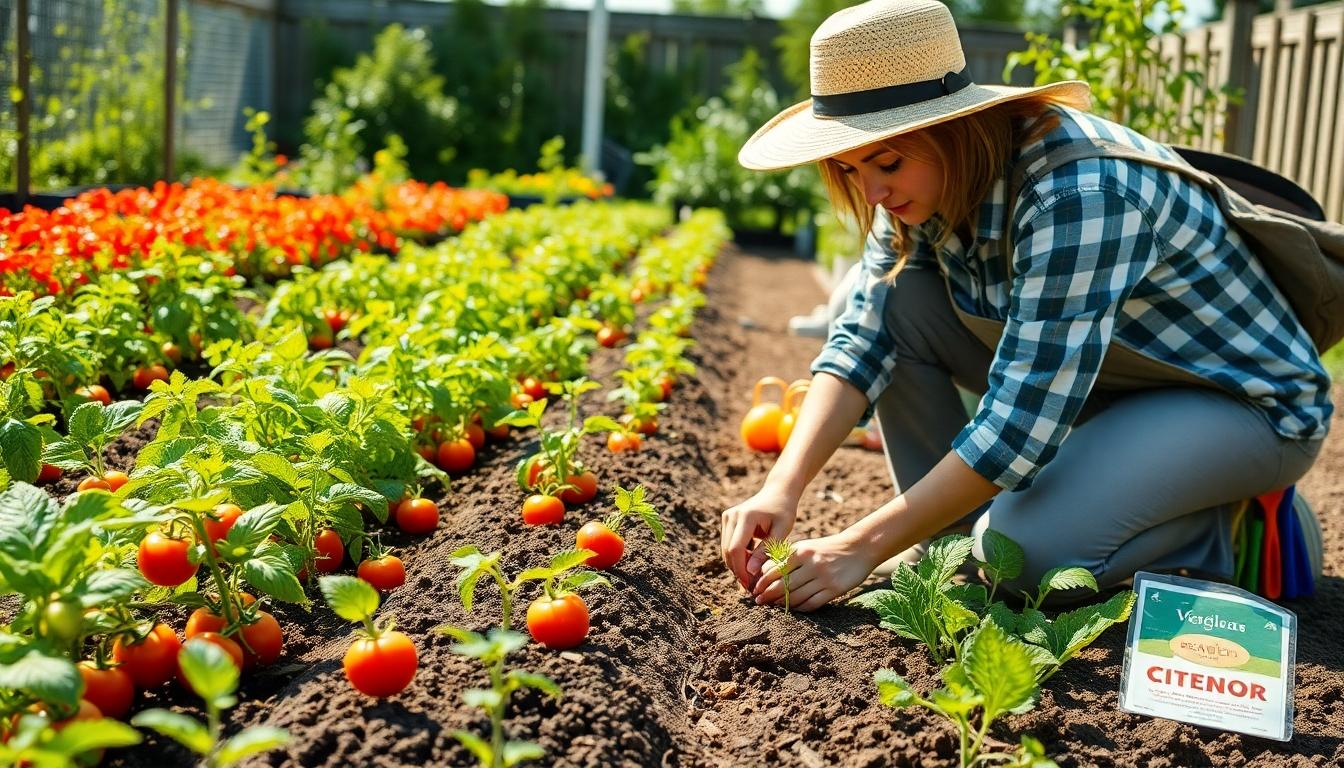
Timing is everything when it comes to spring planting. Follow these proven strategies to maximize your vegetable garden’s productivity this season.
- Follow regional planting windows – Planting dates vary significantly by location, with Virginia’s spring planting season running from March 15 to May 5, while Wisconsin gardeners should sow cold-hardy crops like beets, carrots, and peas by late April. Check your local extension service for exact guidelines customized to your area’s climate conditions.
- Prioritize frost-sensitive transplants – Start tomatoes, peppers, and eggplants indoors 6-8 weeks before your area’s last frost date. These warm-season crops need protection from cold temperatures and should only be transplanted outdoors after all frost danger has passed—Wisconsin gardeners typically wait until late May for tomatoes.
- Stagger direct seeding – Begin sowing quick-maturing crops like arugula approximately 4 weeks before your last frost date. Continue planting in 2-week intervals until mid-May to ensure continuous harvests rather than a single large yield all at once.
- Rotate crops efficiently – After harvesting early spring vegetables like radishes or spinach, replant those beds with heat-tolerant varieties such as bush beans. This strategy maximizes your growing space and extends your productive season well into summer.
- Mix direct sowing and transplanting methods – Direct-sow root crops like carrots that don’t transplant well, while using transplants for longer-season crops like tomatoes. This balanced approach optimizes both growing space and harvest timing throughout the spring season.
Understanding Last Frost Dates in Your Region
Knowing your region’s last frost date serves as the foundation for successful spring planting. USDA Hardiness Zones provide valuable guidance for Virginia gardeners, helping align planting dates with local frost-free periods. In southeastern Wisconsin, the average last frost typically occurs between May 2-6, which means crops like beans and sweet corn should be sown in mid-May or later to avoid cold damage.
Seed packets offer additional scheduling assistance with instructions like “plant 4-6 weeks before last frost.” These guidelines ensure your seedlings develop proper temperature resilience based on their exact needs. We recommend keeping a garden journal to track frost dates year after year, as local microclimates can sometimes differ from regional averages by a week or more.
Succession Planting for Continuous Harvests
Succession planting prevents feast-or-famine scenarios in your spring garden. After harvesting early crops like radishes or spinach, immediately replant those areas with heat-tolerant varieties such as bush beans to maintain productivity throughout the growing season.
Plant beet or Swiss chard batches at 2-3 week intervals to avoid overwhelming harvests and extend availability throughout the season. This staggered approach ensures you’ll have fresh produce ready for harvest over a much longer period.
Boost garden efficiency by starting brassicas (broccoli, cabbage, kale) indoors 4-6 weeks before your last frost date. These transplants can be moved outdoors earlier than direct-seeded plants, giving you a important head start on the growing season. For best results, pre-germinate seeds like beets by soaking them for 4-6 hours before sowing to accelerate growth and improve germination rates.
Always monitor frost alerts during the volatile spring season. Keep row covers handy to protect young plants if unexpected late frosts threaten your garden, as even a single night below freezing can damage tender seedlings after they’ve been planted.
8 Effective Watering Systems to Boost Your Spring Harvest
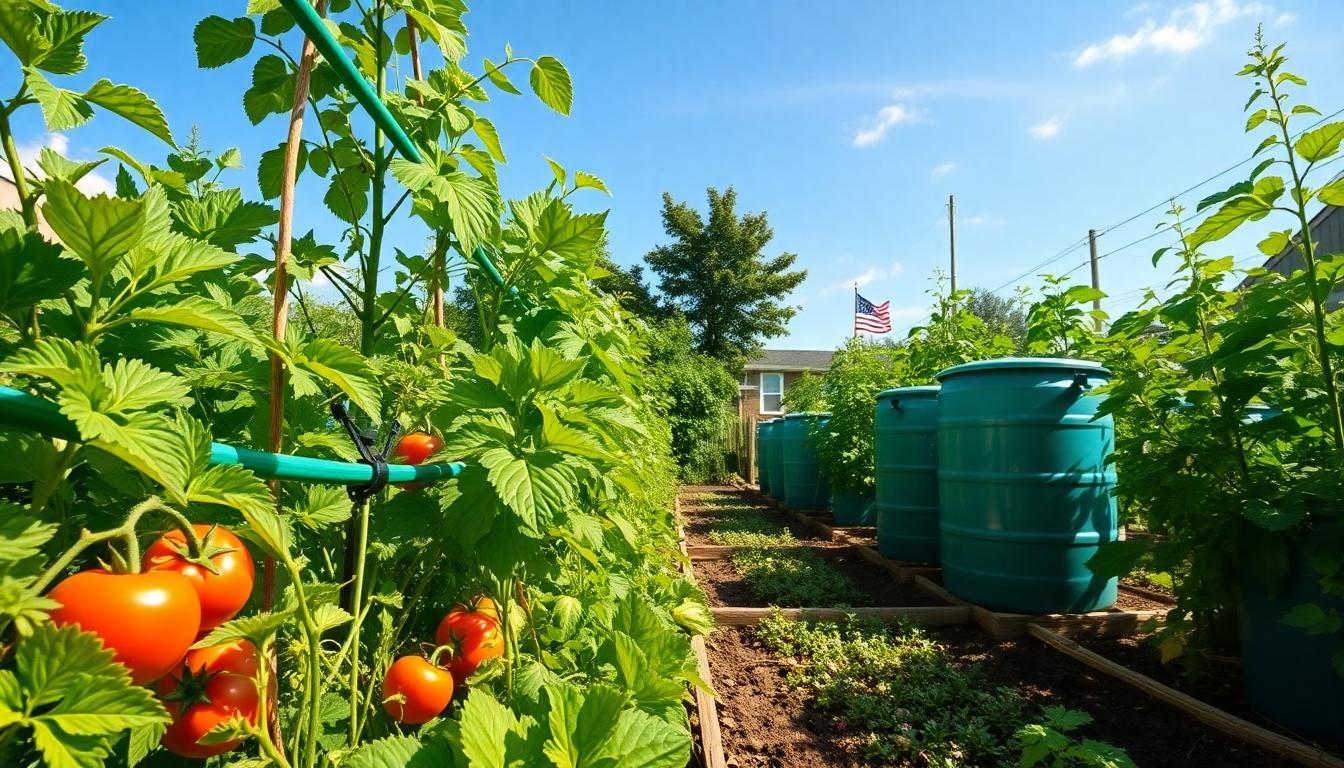
Proper irrigation is crucial for transforming your spring planting efforts into a bountiful harvest. These eight effective watering systems can dramatically improve plant health while conserving water and saving you time in the garden.
- Soaker hoses deliver water directly to the soil through many micro-pores, making them perfect for raised beds and perennial gardens. You can create customized layouts by alternating sections of soaker hose with regular garden hose to target exact plant root zones.
- Drip irrigation systems offer precise water delivery through emitters, reducing waste and evaporation significantly. Customizable kits like the WaterWell Drip Line work exceptionally well for row crops with their 12-inch spaced perforations that ensure even moisture distribution.
- Emitter tubing comes with built-in drippers that distribute water uniformly throughout your garden beds. Pair these systems with low-flow emitters (0.5-1.0 GPH) for most vegetables or high-flow options (2.0-5.0 GPH) for thirstier plants depending on your garden’s exact needs.
- Staked drippers allow targeted watering directly at the root zone of individual plants. These versatile components work wonderfully in mixed gardens where different plants have varying water requirements.
- Micro bubblers provide higher water volume for crops with greater moisture needs, such as tomatoes and squash. Their adjustable flow rates make them especially valuable for gardens with sandy soils that drain quickly.
- Hose-end timers automate your watering schedule, ensuring consistent moisture levels without the risk of overwatering. These simple devices can transform basic drip systems into smart irrigation setups that maintain ideal soil conditions.
- Rain barrels collect roof runoff, providing free, chlorine-free water for your spring crops. Setting up gravity-fed systems from elevated barrels creates an efficient watering solution for raised beds without electricity or complex equipment.
- Manual shutoff valves let you isolate sections of your drip system when certain areas need less water. This targeted control prevents root rot and allows you to adjust irrigation based on different plant needs or rainfall patterns.
Drip Irrigation Benefits for Spring Gardens
Drip irrigation systems deliver substantial advantages for spring gardens beyond simple convenience. These systems improve water efficiency by 30-50% compared to traditional sprinklers by directing moisture precisely where plants need it most—at the root zone. The targeted application minimizes evaporation and runoff, making every drop count during critical growth periods.
Disease prevention represents another major benefit of drip irrigation for spring crops. By keeping foliage dry while watering, these systems significantly reduce the risk of fungal issues that commonly plague spring gardens during cool, damp conditions. Tomatoes, squash, and other susceptible plants develop stronger and healthier when their leaves remain dry.
Soil health improves dramatically with drip irrigation implementation. The controlled water application prevents erosion that often occurs with overhead watering methods. Also, nutrients remain in the root zone rather than leaching away through excessive watering, creating optimal growing conditions for your spring vegetables and herbs.
Rainwater Harvesting Techniques for Sustainable Gardening
Strategic barrel placement forms the foundation of effective rainwater harvesting. Install collection barrels directly under downspouts for maximum capture, and always include mesh screens to filter out debris that could clog your irrigation system. This simple setup can provide hundreds of gallons of free, natural water throughout the spring growing season.
Gravity drip systems work wonderfully with harvested rainwater when you elevate barrels 2-3 feet above your garden beds. The height difference creates natural water pressure that powers passive irrigation without pumps or electricity. Many gardeners construct simple platforms or use the natural slope of their property to achieve the necessary elevation difference.
Overflow management prevents waste and potential foundation damage during heavy spring rains. Link multiple barrels in sequence to increase storage capacity, allowing excess water to cascade from one container to the next. Alternatively, direct overflow to permeable areas like rain gardens or swales that can absorb and use the additional moisture rather than creating runoff problems.
6 Natural Pest Control Methods to Protect Young Spring Plants
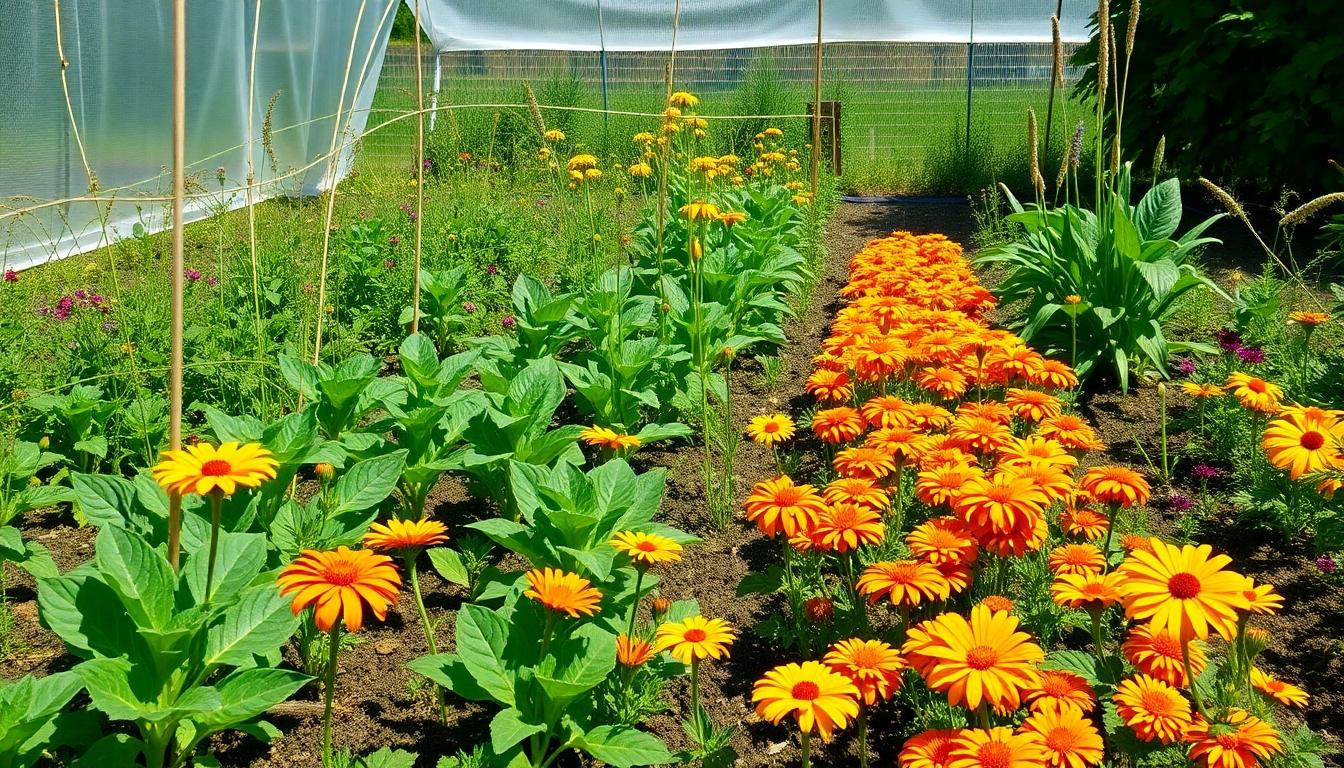
Protecting your spring seedlings from pests doesn’t require harsh chemicals. We’ve compiled six effective natural answers that keep your plants healthy while maintaining ecological balance in your garden.
- Garlic and Chili Sprays – Create a powerful pest deterrent by mincing garlic cloves, mixing with mineral oil, straining, and diluting with water. For stronger protection, combine garlic with chili powder, a drop of dish soap, and water to effectively repel aphids and caterpillars that threaten young plants.
- Neem Oil Answers – Mix 1 teaspoon of neem oil with water and a drop of dish soap to disrupt pest life cycles naturally. This solution not only deters insects but also prevents fungal growth that commonly affects spring seedlings.
- Essential Oil Mixtures – Apply diluted essential oils like peppermint, lavender, or rosemary (1 teaspoon per quart of water) to deter squash bugs and other persistent garden pests without harming beneficial insects.
- Row Covers – Install lightweight fabric covers over seedling rows to create physical barriers against insects while still allowing sunlight, air, and moisture to reach your plants.
- Diatomaceous Earth – Sprinkle this natural powder around vulnerable plants to dehydrate soft-bodied pests on contact, creating an effective barrier that won’t harm your growing vegetables.
- Soapy Water Spray – Combat aphid infestations by mixing 1 teaspoon of mild dish soap per quart of water and applying directly to affected plants, suffocating the pests without damaging plant tissue.
Companion Planting Arrangements for Pest Management
Companion planting leverages natural plant relationships to reduce pest pressure throughout your spring garden. Plant bright marigolds, colorful nasturtiums, or pungent alliums strategically among vegetables to repel beetles and aphids that typically damage young crops. Aromatic herbs like rosemary, basil, and thyme serve dual purposes by deterring pests with their strong scents while providing culinary benefits for your kitchen.
Pairing garlic with roses creates a natural defense against Japanese beetles, protecting your ornamentals without chemical interventions. Flowering plants such as calendula, zinnias, and sunflowers work brilliantly to attract pollinators while simultaneously diverting pests away from your valuable food crops. These companion arrangements create biodiversity that naturally suppresses pest populations while improving overall garden health.
Beneficial Insect Attraction Strategies
Building a garden that attracts helpful insects creates a natural pest control system that works around the clock. Include flowering plants such as sweet alyssum, dill, and fennel to lure beneficial predators like ladybugs, lacewings, and hoverflies that feed voraciously on garden pests. Avoiding broad-spectrum pesticides preserves these helpful populations, allowing parasitic wasps and other predatory insects to thrive and control unwanted pests naturally.
Diverse planting layouts with overlapping bloom times ensure continuous nectar sources throughout the growing season, supporting beneficial insects from early spring through harvest time. Adding flat-topped flowers like yarrow provides ideal landing platforms for tiny beneficial insects while creating crucial habitat space. This strategic approach to garden design transforms your space into a balanced network where beneficial insects naturally manage pest populations, reducing the need for intervention and promoting healthier plant development.
4 Space-Maximizing Garden Designs for Abundant Spring Harvests
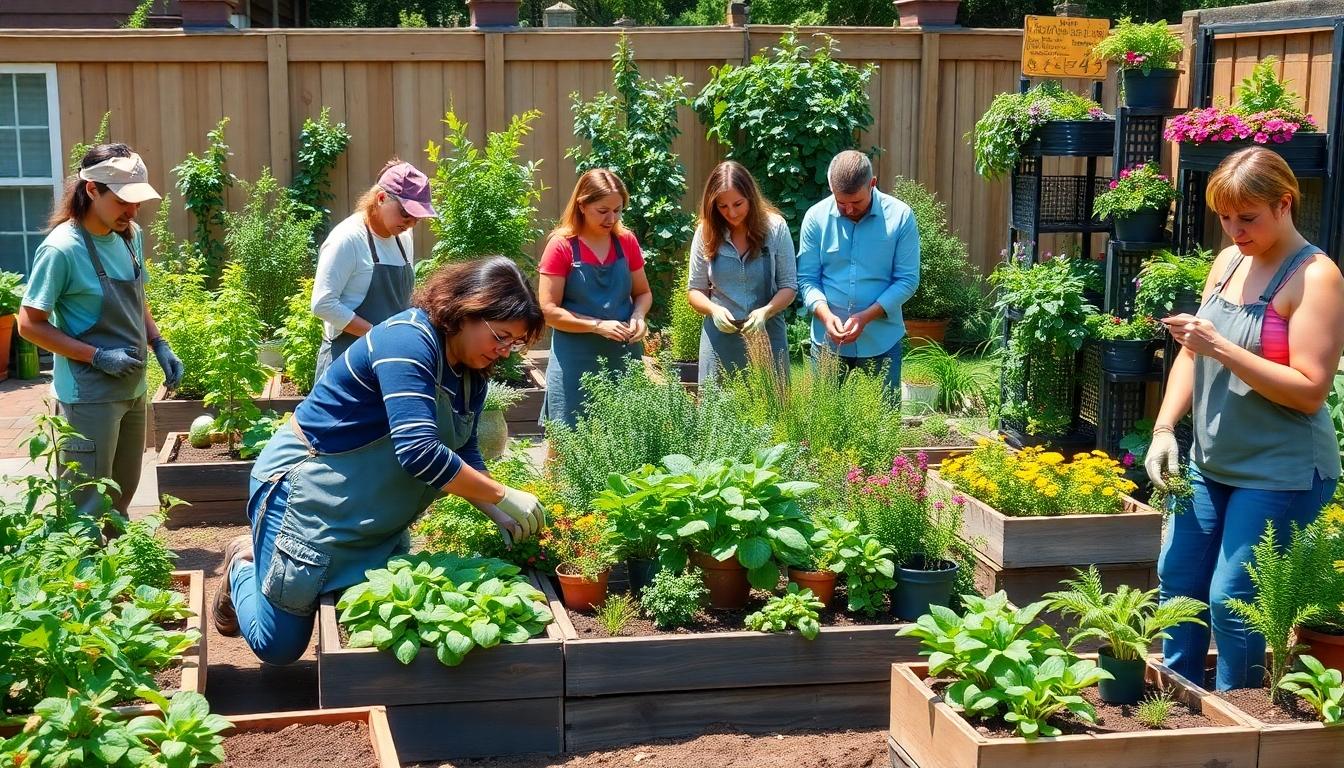
Square-Foot Gardening
Square-foot gardening transforms limited space into a highly productive growing area through strategic grid planning. Dividing your beds into 10-inch grids creates an organized system for high-density planting that maximizes every inch of soil. Plants thrive in these carefully measured spaces because each has exactly the room it needs without wasting valuable garden real estate. Try planting lettuce at each corner of a 10-inch square with spring onions in the center – this arrangement not only uses space efficiently but also provides natural pest protection. The uniform grid system makes maintenance straightforward while ensuring optimal spacing for root development and air circulation.
Interplanting with Shrubs
Interplanting vegetables among perennial shrubs and flowers creates multi-dimensional growing spaces that use vertical layers effectively. This technique takes advantage of different root depths and growth habits to maximize productivity in the same footprint. Leafy greens like lettuce and spinach thrive in the dappled shade provided by established shrubs while benefiting from their structural support. Your garden becomes more visually interesting while producing significantly more food from the same square footage. Plants with complementary nutrient needs often work best together, creating mutually beneficial growing relationships.
Raised Bed Planning
Raised bed planning allows for intensive planting strategies that yield impressive harvests in compact spaces. Following proven designs, such as Better Homes & Gardens’ 4×4-foot plan featuring 10 cold-hardy crops including kale, spinach, and radishes, ensures optimal use of limited garden space. These carefully designed layouts consider plant spacing, sunlight needs, and growth habits to create perfect mini-ecosystems. Your harvest potential increases dramatically when plants are arranged in compact, well-thought-out blocks rather than traditional rows. Raised beds also warm more quickly in spring, extending your growing season for early crops.
Tiered Container Gardens
Tiered container gardens create growing space where none existed by building upward rather than outward. Stacking pots or arranging window boxes at different heights establishes multiple growing surfaces within the same footprint. Herbs and leafy greens flourish in these vertical arrangements while creating an attractive, space-efficient garden design. Your growing capacity multiplies with each level you add, making this perfect for patios, balconies, or small yards. Container soil warms faster than ground soil, giving spring crops an early start and extending your harvest period significantly.
Vertical Gardening Answers for Small Spaces
Vertical gardening transforms limited horizontal space into abundant growing opportunities by utilizing the often-overlooked vertical dimension. Climbing varieties like peas, pole beans, and cucumbers grow upward on trellises, freeing ground space for additional plantings while making harvesting easier. Wall-mounted planters and hanging baskets turn unused vertical surfaces into productive growing areas for strawberries and salad greens. A-frame trellises provide optimized sun exposure by training vines upward on angled structures that catch maximum light throughout the day. Your garden’s productivity increases dramatically when you extend growing space skyward rather than being limited by ground area.
Intercropping Methods to Increase Yield per Square Foot
Companion planting boosts harvests by strategically pairing crops that benefit each other, such as spring onions with lettuce to naturally repel pests while doubling production in the same space. Succession sowing maintains continuous harvests by replacing early crops like radishes with heat-loving plants such as bush beans as temperatures rise. Spacing optimization using square-foot techniques allows fast-maturing crops like spinach to grow alongside slower-developing varieties like carrots, maximizing harvest potential throughout the season. Crop rotation alternates heavy feeders such as tomatoes with soil-enriching legumes like peas annually, maintaining fertility while preventing pest and disease buildup. These intercropping methods transform limited garden space into remarkably productive growing areas that yield abundant harvests throughout the spring season.
9 Essential Spring Fertilization Tips for Productive Gardens
Timing Your Fertilizer Applications
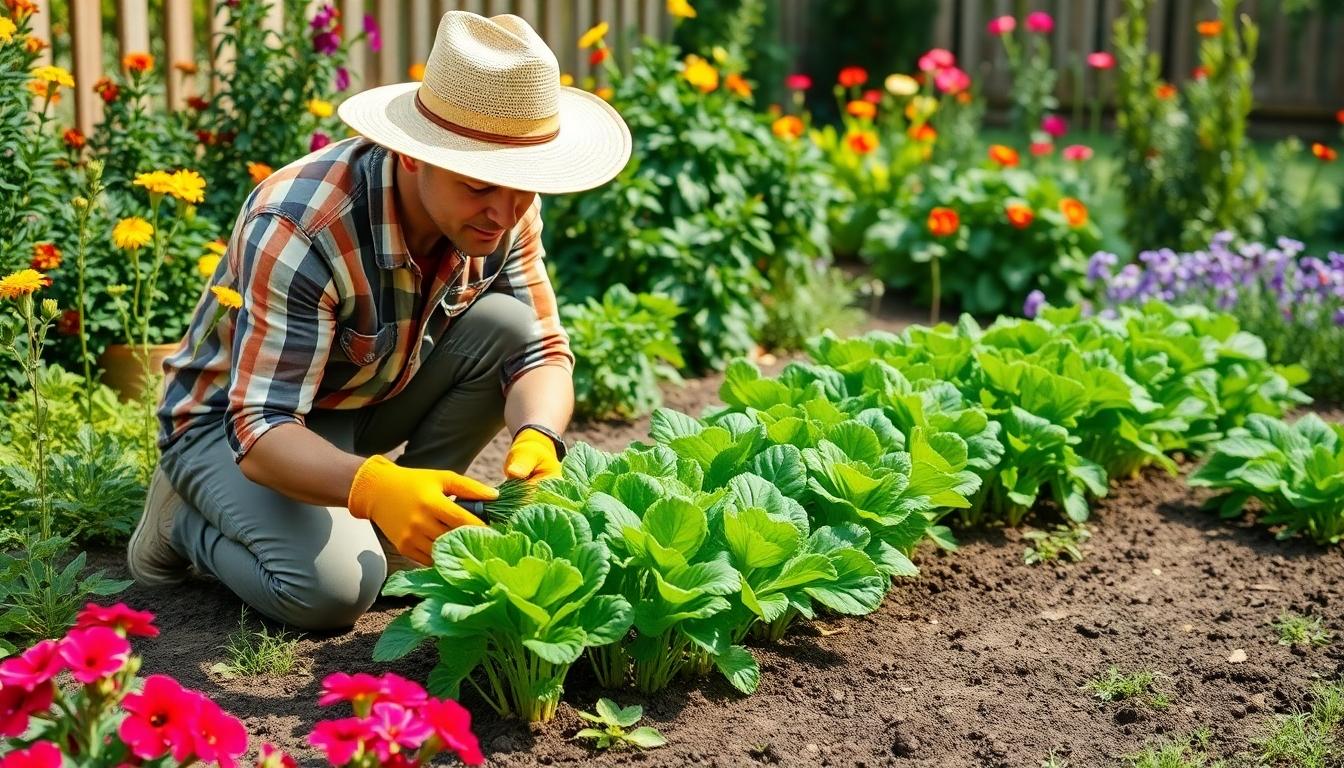
Proper timing drastically impacts fertilizer effectiveness in your spring garden. Apply fertilizer when the soil becomes workable in early spring, ideally before planting your crops. Plants absorb nutrients most efficiently as they enter active growth phases, making this timing crucial for development. Early spring applications align perfectly with warming soil temperatures, creating optimal conditions for nutrient uptake. Waiting until you see active growth signals before fertilizing established plants ensures you’re feeding them when they’re ready to use those nutrients most effectively.
Choosing Between Organic and Synthetic Options
Organic fertilizers offer important long-term benefits for your garden network. Compost, bonemeal, and wood ash provide slow-release nutrients while simultaneously improving your soil structure over time. These natural options feed beneficial soil microorganisms and reduce the risk of nutrient runoff. Synthetic alternatives, while delivering faster results, require more careful application to avoid over-fertilization issues. Many experienced gardeners prefer organic amendments for sustainable soil health, though both types have their place depending on your exact garden needs and timeline.
Matching Fertilizers to Plant Types
Different plants require exact nutrient ratios for optimal growth and production. Vegetables thrive with balanced fertilizer formulas (10-10-10) that support both robust root development and abundant yields. Flowering plants benefit most from high-phosphorus formulations (like 5-10-5) that encourage prolific blooming throughout the season. Lawns respond exceptionally well to nitrogen-rich blends (such as 20-5-10) that promote rapid greening and dense growth. Always check individual plant requirements before applying any fertilizer, as some species have unique nutritional needs that differ from these general guidelines.
Strategic Application Methods
Band or row applications maximize fertilizer efficiency while minimizing waste. Place fertilizer in strips beside your plant rows rather than broadcasting it across the entire garden. This targeted approach prevents potential root burn while ensuring nutrients remain available exactly where plants need them. For transplants like tomatoes, peppers, and eggplants, prepare starter answers by mixing 2 tablespoons of fertilizer per gallon of water. These starter answers help reduce transplant shock and encourage rapid establishment in your garden beds.
Slow-Release Versus Quick-Acting Formulas
Slow-release granular fertilizers provide steady nutrition over extended periods, making them ideal for season-long feeding. These products significantly reduce leaching and burnout risks while maintaining consistent nutrient levels in your soil. Liquid fertilizers deliver immediate nutrition boosts perfect for leafy greens and fruiting plants that need quick access to nutrients. Water-soluble formulas (like all-purpose 12-4-8) work exceptionally well when plants show signs of deficiency or during critical growth stages. Most successful gardens incorporate both types strategically throughout the growing season.
The Importance of Soil Testing
Soil tests reveal exactly what your garden needs before you apply any fertilizer. These tests identify exact nutrient deficiencies and help you target the precise N-P-K ratios your soil requires. Regular testing prevents wasteful over-application of unnecessary nutrients while ensuring plants receive elements they truly lack. Most county extension offices offer affordable soil testing services that provide customized fertilization recommendations for your exact garden conditions. Investing in testing before fertilizing saves money and produces healthier plants in the long run.
Special Considerations for Perennials
Perennial plants generally require less fertilization than annual vegetables or flowers. Excessive nitrogen causes leggy, weak growth in most perennial species, making them more susceptible to pests and diseases. Many established perennials thrive with minimal or even no supplemental fertilizer once they’re settled into your garden. Focus instead on maintaining healthy soil through light applications of compost rather than heavy feeding with concentrated products. Always research exact perennial varieties before fertilizing, as some flowering types benefit from occasional phosphorus boosts during bud formation.
Post-Application Best Practices
Water thoroughly after applying any fertilizer to help nutrients reach plant roots effectively. Deep watering after application prevents fertilizer burn and helps distribute nutrients throughout the root zone. Mark your calendar to track fertilization schedules, preventing both over and under-feeding throughout the growing season. Maintain a buffer zone between fertilized areas and waterways to prevent environmental contamination from runoff. Remember that even organic fertilizers can cause water pollution if applied excessively or immediately before heavy rain.
Long-Term Soil Building Strategies
Building healthy soil creates the foundation for reduced fertilizer dependency over time. Incorporate regular additions of organic matter like compost, leaf mold, and well-rotted manure to gradually improve soil structure and fertility. Cover crops planted in fall and turned under in spring add natural nitrogen and organic material without purchased fertilizers. Focus on creating a living soil network that naturally cycles nutrients rather than relying solely on external inputs. These sustainable practices not only reduce your gardening costs but also produce healthier, more resilient plants that resist pests and diseases naturally.
3 Weather Protection Strategies for Delicate Spring Crops
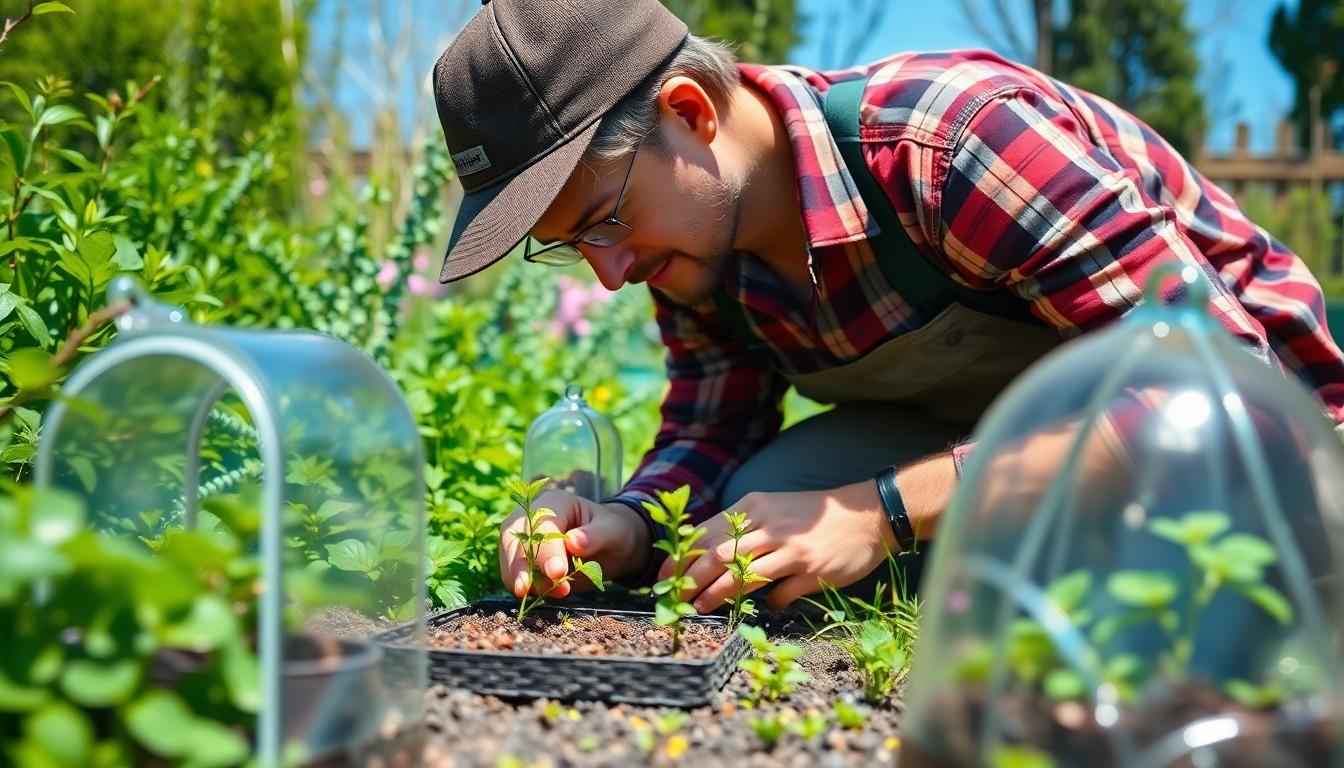
Spring weather can be unpredictable, often threatening delicate crops with sudden frosts and temperature drops. We’ve compiled proven protection methods to shield your valuable spring plantings from harsh conditions.
1. Cold Frame and Cloche Techniques
Cold frames serve as miniature greenhouses for your garden, consisting of bottomless box structures topped with transparent materials like glass or plastic. These simple structures trap solar warmth while providing essential protection from frost, creating a microclimate that’s several degrees warmer than the surrounding garden. Many experienced gardeners position cold frames against south-facing walls to maximize heat retention during cooler spring nights.
Cloches offer individual protection for vulnerable plants through bell-shaped covers that insulate against cold temperatures. These protective domes can be crafted from various materials including glass, plastic, or even paper, depending on your exact needs and budget. Gardeners typically place cloches over seedlings or newly transplanted crops, removing them during warmer days to prevent overheating while securing them at night when frost threatens.
2. Row Cover Options for Frost Protection
Horticultural fleece and plastic covers provide excellent protection when draped over plant rows using rounded hoop supports. These materials create protective tunnels that shield crops from frost damage and cold winds while still allowing sufficient light penetration for plant growth. Row covers particularly benefit early spring crops like lettuce, spinach, and radishes that need protection but still require good air circulation.
Setting up row covers proves remarkably straightforward, requiring only the cover material and support hoops pushed into the soil along your planting rows. Their benefits extend beyond temperature control, as these covers simultaneously protect tender crops from pests and harsh weather conditions. Many market gardeners rely on row covers as their first line of defense against unpredictable spring weather fluctuations.
3. Additional Measures for Protection
Frost covers and mulching techniques provide supplementary defense during particularly challenging weather periods. Using blankets or bed sheets to cover plants overnight, then removing them during daylight hours allows for crucial sunlight exposure while providing nighttime protection. Mulching around plant bases with straw, leaves, or compost helps retain soil moisture and maintains warmer soil temperatures, creating a buffer against cold air.
Watering strategies play a surprising role in frost protection, as properly hydrated plants often withstand cold snaps better than dry ones. Applying water during the warmer parts of the day helps plants retain moisture and creates a protective layer that insulates plant cells from freezing temperatures. The soil’s moisture acts as a heat reservoir, absorbing daytime warmth and releasing it gradually overnight to moderate temperature fluctuations around your precious spring crops.
7 Harvesting Best Practices to Encourage Continued Production
Proper Cutting Techniques to Stimulate Regrowth
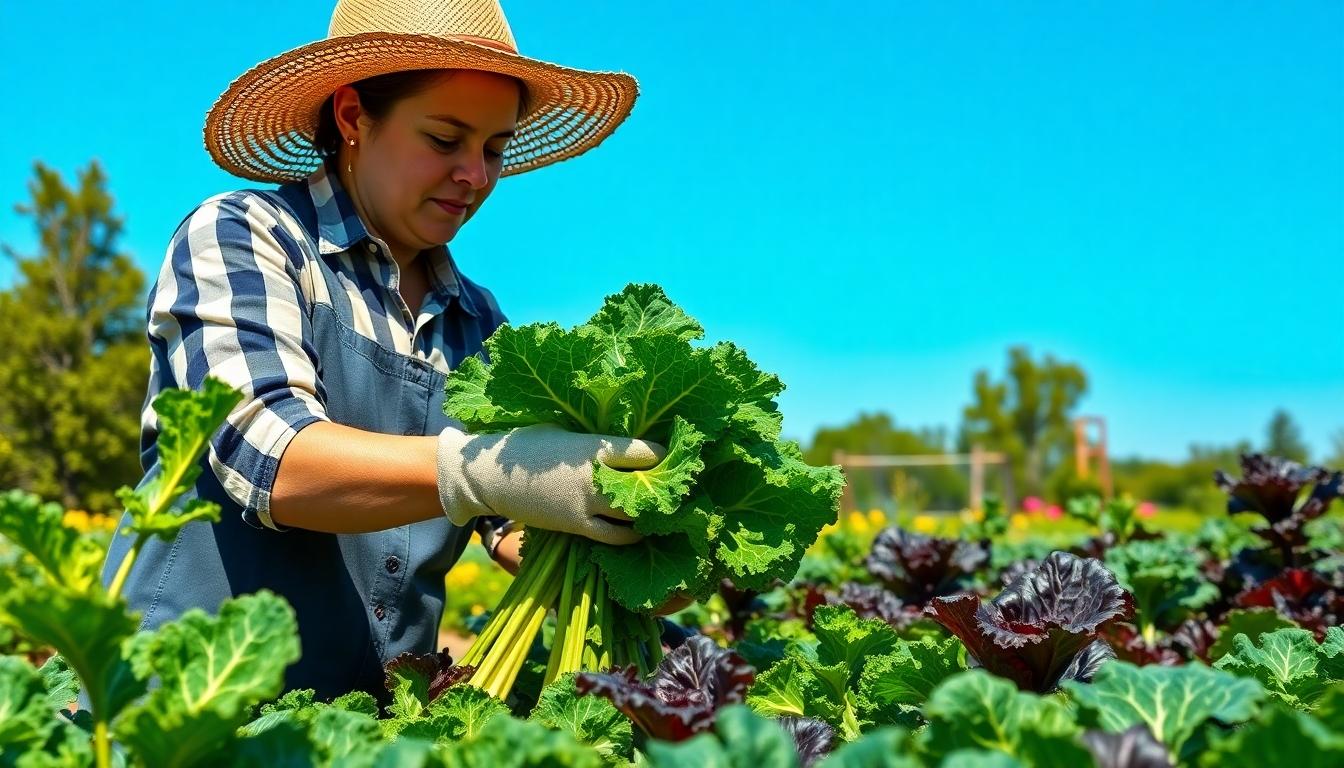
Cutting just above a node on plant stems triggers new growth and extends your harvest season significantly. We recommend using sharp scissors or pruning shears rather than pulling or tearing plants, which can damage roots and stems unnecessarily. For leafy greens like kale and chard, remove the outer leaves first while leaving the central growing point intact to promote continuous production. Herbs benefit from regular pruning – pinch back basil, mint, and oregano just above a leaf pair to encourage bushier growth and prevent premature flowering. Remember to clean your cutting tools between plants to prevent disease transmission and ensure cleaner cuts that heal more quickly. Most importantly, avoid overharvesting any single plant, as this creates stress that diminishes future yields and can weaken the plant’s overall health.
Timing Your Harvest for Maximum Flavor and Yield
Harvesting vegetables when they’re young and tender ensures optimal flavor and nutritional content in your spring garden. We find that gathering leafy greens like spinach and lettuce in the early morning preserves their crispness and extends their shelf life significantly. Root vegetables should be harvested when they reach appropriate size but before they become woody or develop cracks that indicate overgrowth. Regular harvesting of crops like snap peas and bush beans encourages the plants to produce additional flowers and subsequent fruits. Many herbs develop the most intense flavor just before flowering, making this the perfect time to harvest for drying or freezing. Monitor your garden daily during peak growing periods, as vegetables can quickly pass their prime during warm spring weather. Rotating crops seasonally also plays a crucial role in maintaining soil fertility and preventing pest buildups that can diminish future harvests.
Use Tools Gently to Minimize Plant Damage
Sharp harvesting tools make clean cuts that heal quickly and reduce stress on your plants. We always keep scissor snips, garden knives, and harvest shears well-maintained and sanitized to prevent disease spread between plants. Support the weight of fruits like tomatoes or peppers with one hand while cutting with the other to prevent stem damage. Specialized tools such as berry combs for harvesting small fruits or asparagus knives for clean subsurface cuts maximize efficiency while minimizing plant stress. Approach delicate crops like lettuce from the base rather than yanking from the top to preserve root systems. Garden baskets with smooth interior surfaces prevent bruising of harvested produce and extend storage life substantially. Wearing gloves protects both your hands and prevents oils from your skin from damaging sensitive plants during harvest.
Monitor Moisture Levels for Optimal Production
Maintaining consistent soil moisture supports robust plant growth and steady production throughout the spring season. We recommend watering deeply before harvesting to ensure plants recover quickly from the stress of pruning. Mulching around plants with organic materials conserves moisture and reduces the need for frequent irrigation during peak production periods. Check soil moisture by inserting a finger 1-2 inches below the surface—if it feels dry, water thoroughly before harvesting. Morning watering gives plants plenty of time to dry before evening, reducing disease risk while maximizing growth potential. Drip irrigation systems deliver water directly to plant roots, preventing foliage diseases that can reduce harvest quality. Rainwater collection systems provide an excellent chemical-free water source that most plants respond to enthusiastically with increased production.
Encourage Continued Production Through Regular Harvesting
Frequent harvesting stimulates plants like spinach, lettuce, and herbs to produce new growth rather than going to seed. We’ve found that picking every 2-3 days during peak season sends signals to plants to generate replacement foliage and fruits. Removing spent flowers from plants like zucchini and cucumbers redirects energy into producing new blooms rather than developing seeds. Harvesting outer leaves of lettuce and cabbage family plants while leaving the growing center intact extends the productive season by weeks. Pruning tomato suckers after fruit development encourages faster ripening of existing fruit clusters. Establishing a consistent harvest schedule for each crop type prevents overripe produce that draws pests and diseases into your garden. Training climbing plants like peas and beans onto vertical supports while harvesting keeps production areas accessible and increases air circulation.
Preserve the Harvest for Year-Round Enjoyment
Freezing spring vegetables like peas, asparagus, and spinach at peak freshness locks in nutrients and flavor for months. We recommend blanching most vegetables briefly before freezing to preserve color, texture, and nutritional value. Dehydrating herbs, fruits, and even certain vegetables creates shelf-stable ingredients that maintain intense flavors. Water bath canning acidic produce like tomatoes or pickled vegetables provides safe preservation without pressure canners. Fermentation transforms cabbage, radishes, and other spring crops into probiotic-rich foods with extended shelf life. Herb-infused oils and vinegars capture seasonal flavors while creating gourmet ingredients for year-round cooking. Vacuum sealing blanched vegetables removes air that causes freezer burn and flavor deterioration, significantly extending storage life.
Post-Harvest Plant Care for Extended Seasons
Applying balanced organic fertilizer after heavy harvesting replenishes nutrients plants need for continued production. We always remove any diseased or damaged plant material promptly to prevent spread to healthy plants. Pruning spent fruiting branches redirects energy to developing new growth and fruit set. Light applications of compost tea after harvest provide micronutrients that support plant recovery and vigor. Supporting taller plants that may become top-heavy after partial harvesting prevents wind damage and stem breakage. Covering partially harvested crops during unexpected frost events extends the growing season significantly. Monitoring for pest activity after harvesting is essential since disturbed plants often release volatiles that attract insects looking for easy meals.
5 Post-Harvest Garden Management Tips for Extended Spring Bounty
By implementing these spring gardening strategies we’ve shared you’ll be well on your way to a bountiful harvest that extends throughout the season. Remember that successful gardening isn’t just about planting but involves thoughtful planning soil preparation and ongoing care.
The methods we’ve outlined work together as an integrated system to maximize your garden’s potential. From proper watering techniques to natural pest management these approaches create a sustainable garden network that delivers abundant yields.
Put these tips into practice and you’ll not only enjoy fresh nutritious produce but also develop a deeper connection with your garden. Here’s to your most productive spring garden yet!
Frequently Asked Questions
When is the best time to start preparing my garden for spring planting?
Begin preparing your garden 4-6 weeks before your region’s last frost date. This timing gives you ample opportunity to test and amend soil, add organic matter, and plan your garden layout. Early preparation ensures soil has time to settle and amendments can integrate properly before planting begins.
How can I determine the right planting schedule for my region?
Consult your local extension office for region-specific planting calendars, understand your USDA hardiness zone, and track last frost dates. Many experienced gardeners maintain garden journals to record yearly planting dates and results. Online tools and mobile apps can also provide customized planting schedules based on your location.
What are the most efficient watering systems for a spring garden?
Drip irrigation and soaker hoses are the most efficient watering systems for spring gardens. These methods deliver water directly to plant roots, minimize evaporation, reduce disease by keeping foliage dry, and conserve water. Pairing these systems with timers ensures consistent moisture levels while using significantly less water than overhead sprinklers.
Which natural pest control methods are effective for spring gardens?
Effective natural pest controls include neem oil for broad-spectrum protection, garlic-chili sprays for insects, diatomaceous earth for crawling pests, row covers for physical barriers, and companion planting with pest-repelling herbs like basil and marigolds. Encouraging beneficial insects by planting flowering herbs and avoiding chemical pesticides creates a balanced garden ecosystem.
How can I maximize space in a small spring garden?
Implement square-foot gardening, vertical growing structures, tiered containers, and interplanting techniques to maximize small garden spaces. Choose compact or determinate varieties bred for container growing, and utilize succession planting to ensure continuous harvests. Trellises and wall-mounted planters can transform unused vertical space into productive growing areas.
What’s the best approach to fertilizing spring vegetable gardens?
Start with a soil test to determine specific nutrient needs, then apply balanced organic fertilizers about 2-3 weeks before planting. For established plants, use diluted liquid fertilizers every 2-3 weeks during the growing season. Match fertilizer types to plant needs—nitrogen for leafy greens and phosphorus for fruiting plants—and avoid over-fertilizing, which can damage plants.
How do I protect young spring plants from unpredictable weather?
Use cloches, cold frames, or row covers to create protective microclimates for seedlings. Apply mulch around plants to stabilize soil temperature and moisture. For sudden cold snaps, cover plants with frost blankets or even sheets before sunset and remove after morning temperatures rise. Water plants before expected freezes as moist soil retains heat better than dry soil.
What harvesting techniques encourage continued production?
Harvest in the morning when plants are hydrated and nutrients are highest. Use sharp, clean tools to make precise cuts that minimize damage. For leafy greens, remove outer leaves while leaving the growing center intact. Harvest frequently to stimulate new growth, especially for beans, peas, and herbs. Always leave enough foliage for plants to photosynthesize effectively.


